

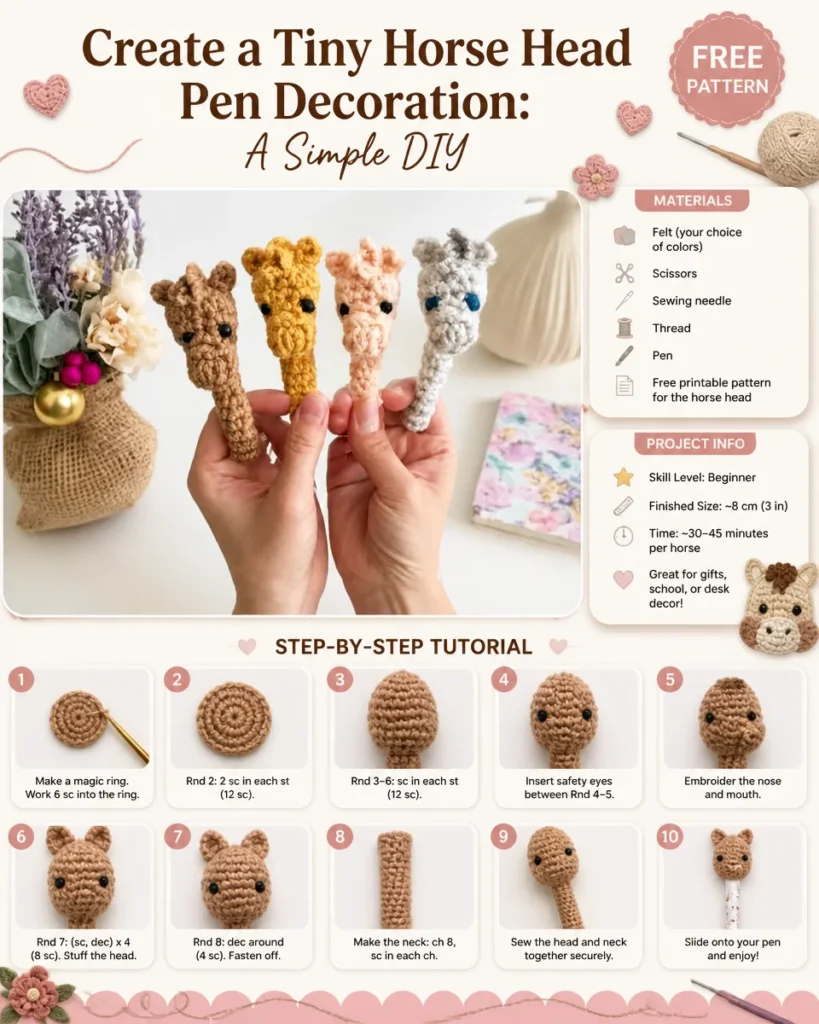
Create a Tiny Horse Head Pen Decoration: A Simple DIY Project
Are you looking to add a touch of charm to your desk or surprise a fellow horse lover with a unique gift? Making a tiny horse head pen decoration is a delightful DIY project that’s both easy and fun! This eye-catching accessory can brighten up any workspace while being practical, too. Let’s saddle up for this crafty journey!
Why Make This Project
Creating a tiny horse head pen decoration not only allows you to showcase your creativity but also provides a personal touch to something as simple as a pen. This project is great for all ages and skill levels, making it a perfect activity to share with family and friends. Plus, it’s an adorable addition to your home office or a thoughtful gift for someone special.
Materials
To get started, gather the following materials:
- Felt (your choice of colors)
- Scissors
- Sewing needle
- Thread
- Pen
- Free printable pattern for the horse head
{image_template}
Instructions
Follow these simple steps to create your horse head pen decoration:
-
Download and Print the Pattern: Start by downloading the free horse head pattern. Print it out to ensure you have the correct size for your decoration.
-
Cut the Felt Pieces: Using your scissors, carefully cut out the felt pieces according to the printed pattern. Take your time to keep your cuts neat for a polished finish.
-
Sew the Pieces Together: Grab your sewing needle and thread, and begin sewing the cut pieces together to form the horse head. Make sure to leave an opening at the bottom for the pen insertion.
-
Insert the Pen: Once the horse head is sewn together, gently insert the pen into the opening. This transforms your felt creation into a cute and functional pen holder.
-
Close the Opening: After inserting the pen, sew the opening closed securely. Make sure the stitching is tight so that the pen stays in place.
-
Add Optional Details: For an extra personal touch, consider adding features like eyes and nostrils using additional felt or embroidery. This step can really bring your horse to life!
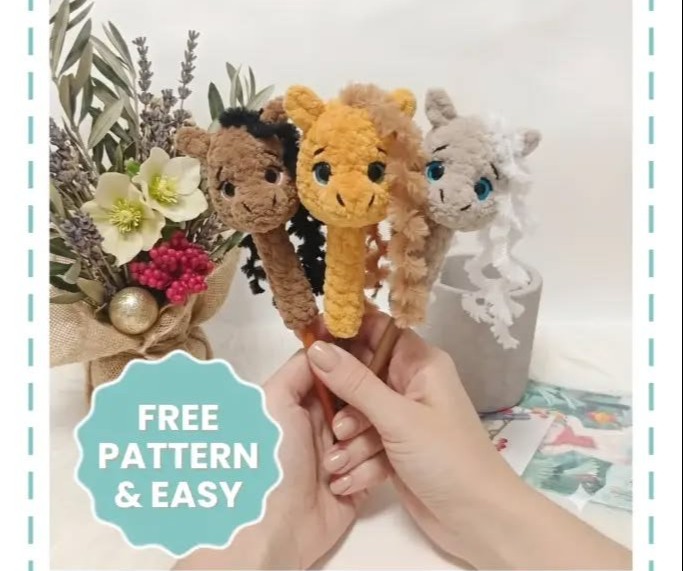
Helpful Tips
- Choose Color Wisely: Select felt colors that match your personality or the recipient’s favorite colors for a thoughtful touch.
- Use Fabric Glue: If you prefer not to sew, fabric glue can be used for a faster assembly.
- Practice Embroidery: If you’re new to embroidery, practice on a scrap piece of felt before adding details to your horse head.
Variations and Customization Ideas
- Color Combinations: Experiment with different color combinations for the horse’s mane and body.
- Add Accessories: Consider making a little hat or saddle to embellish your horse head for added charm.
- Create a Themed Set: Make a few different animals or shapes and create a themed pen decoration set for gifts or decorations.
Safety Notes
When using scissors and sewing needles, ensure you handle them carefully to avoid injuries, especially if children are involved.
FAQs
Can I use other materials besides felt?
Yes! While felt is recommended for its ease of handling, you can use other fabric types if you prefer.
Is there a specific type of pen that works best?
Any pen will work, but choosing a pen that fits snugly into the opening will help keep your decoration secure.
How long does it take to complete this project?
The time will vary depending on your sewing skills, but most people can finish this project in under an hour.
Can I create larger or smaller decorations using the same pattern?
Absolutely! You can resize the pattern when printing to create different-sized horse head decorations.
Conclusion
This tiny horse head pen decoration project is a straightforward and delightful way to showcase your creativity while crafting a functional item. With just a few materials and simple steps, you can create a unique piece that adds charm to any desk or room. So grab your felt and start crafting today! Happy decorating!
