

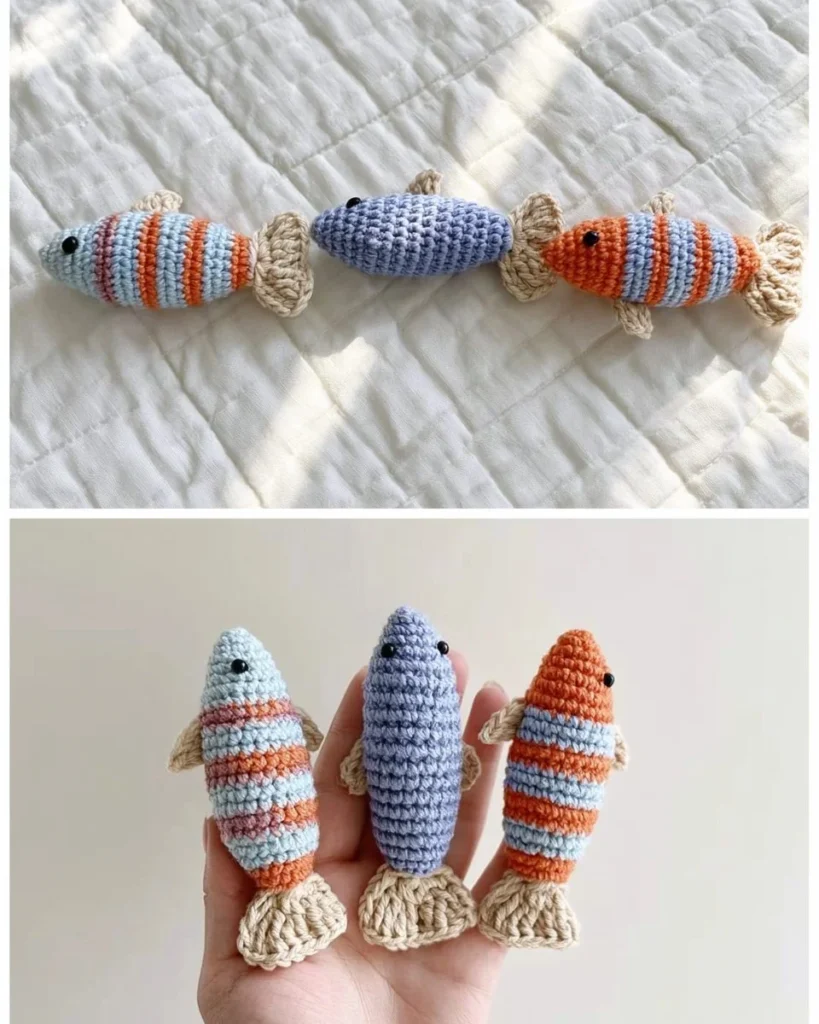
Create Your Own Crocheted Sardines: A Fun and Colorful DIY Project
Crochet enthusiasts, get ready to dive into a unique and charming project: crocheted sardines! These little fishy creations are perfect for home decor, gift-giving, or simply to enjoy as a whimsical addition to your collection. Let’s explore how you can create these delightful sardines using basic crochet techniques and a splash of creativity.
Why Make This Project?
Crocheted sardines are not only adorable but also easy to personalize! They can serve as ornaments, keychains, or even fridge magnets. Plus, using different colors can make each piece unique. This project is a wonderful way to practice your crochet skills, create small, portable items, and make colorful decorations that bring joy to any space.
Materials
Before you get started, gather the following materials:
- Crochet hook
- Yarn in various colors (e.g., silver, blue, and red)
- Scissors
- Tapestry needle
Instructions
Follow these simple steps to whip up your own cuddly sardines:
-
Choose Your Color
Pick the color of yarn you want for the body of your sardine and make a magic circle to begin your project. -
Work in Rounds
Chain and work in rounds to create the body shape of the sardine, building it to your desired size. -
Add Colorful Scales
Switch to a different color yarn to create scales on your sardine. Use slip stitches to add details and texture that make your fish look even more delightful. -
Create Fins
Make small chains with your yarn for the fins, then attach them to the body of the sardine. This adds to the charm and realism of your creation. -
Stuff Your Sardine
Lightly stuff the sardine for shape, then sew the opening closed with your tapestry needle to secure it. -
Finishing Touches
To complete your sardine, attach a hanging loop or a magnet on the back, making it easy to display or use as a fun gift.
Helpful Tips
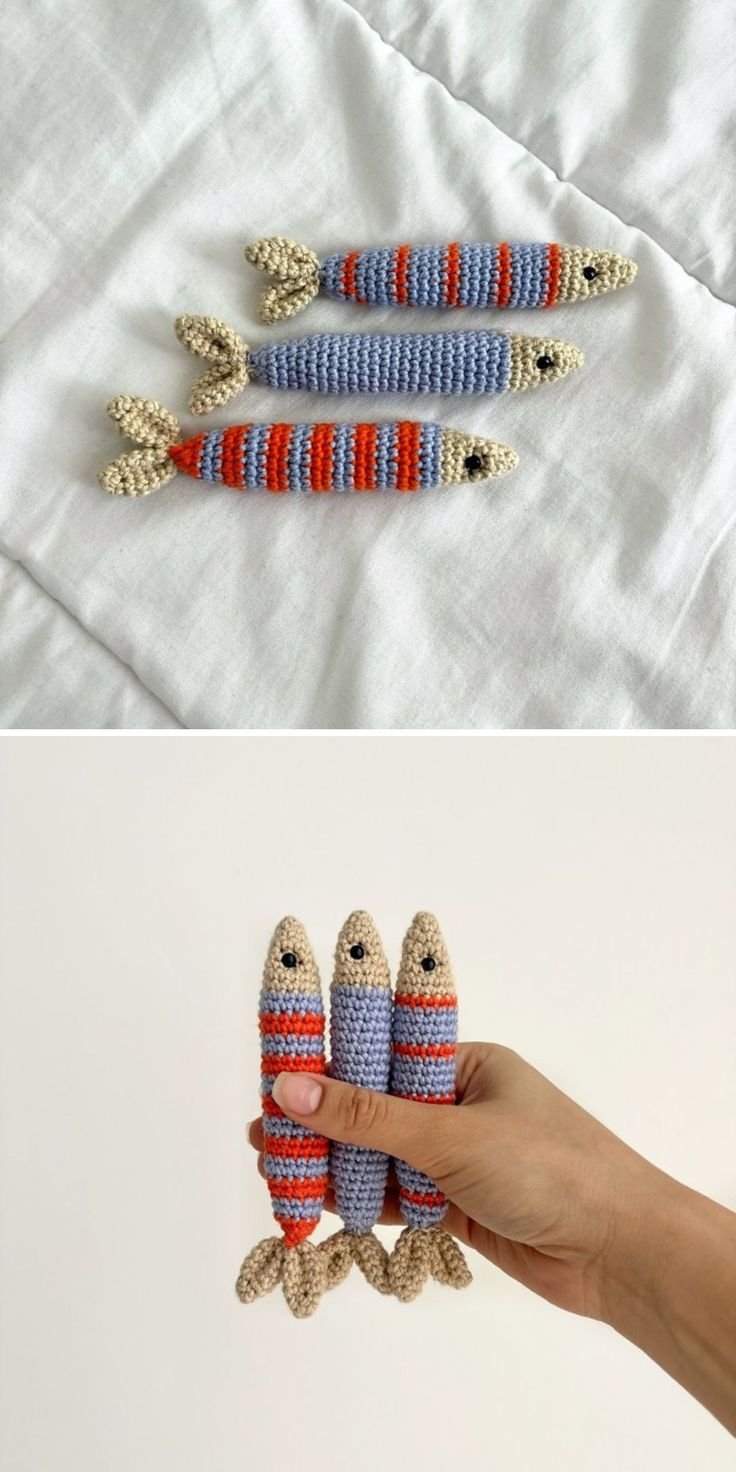
- For a more realistic look, mix different shades of blue or silver yarn for the body and scales.
- If you’re new to crocheting, don’t hesitate to start with a single color for your first sardine, and then experiment with color changes afterward!
- Keep your stitches light and not too tight, as this will make stuffing and shaping easier.
Variations and Customization Ideas
Feel free to get creative with your sardine designs! Here are some suggestions:
- Matching Sets: Make a school of sardines in varying sizes and colors.
- Add Some Bling: Use sparkly or metallic yarn for a fun twist on the scales.
- Seasonal themes: Create holiday-themed sardines, using colors that represent different seasons or festivities.
Safety Notes
When crafting with small pieces, be cautious if gifting to young children. Ensure any attachments, like magnets, are securely fastened to avoid choking hazards.
FAQs
What is a magic circle?
A magic circle is a technique used to start crocheting in the round, allowing your first stitches to pull tightly and avoid a hole.
How long will it take to make a sardine?
The time varies depending on your crochet skill level and speed, but a single sardine can usually be completed in an hour or so.
Can I wash my crocheted sardine?
Since many yarns are not machine washable, it’s best to spot clean or hand wash your sardine gently if needed.
What if I don’t have crochet experience?
This project is a great way to practice! Start with simple stitches and follow along. There are plenty of beginner tutorials online that can help you.
Can these sardines be used as toys?
While they are cute, they are better suited for decorative purposes due to potential choking hazards from any small parts like your hanging loop or magnet.
Conclusion
Crocheted sardines are a delightful project that can bring joy to your crochet experience. Whether you’re creating for yourself or gifting to someone special, this pattern is sure to make you smile. Dive into the world of crochet with these charming fish and explore the endless possibilities of colors and styles. Happy crocheting!
